Thursday, January 31, 2013

Felt art

A couple of weeks ago, I was working on a hand-sewn project when one of my little girls wandered in to hang out with me. While we chatted, she watched my every stitch. 

I wondered if she'd like to give sewing a whirl.

We went to Walmart and picked up several sheets of felt and some matching embroidery floss, plus a large-eyed, easy-to-thread needle. When we came home, I showed her how to thread a needle, how to knot the end of her floss, and a very basic running stitch

She was ready to roll:


This is now a favorite activity of hers, and it keeps her busy for hours.


For kidlings that are a little too young to use a needle and shears, consider making some sewing cards: punch holes in a thin piece of cardboard (like a cereal box) with a hole punch, and let them practice the ins and outs with a shoelace or a piece of yarn. They'll love being just like mom.

Wednesday, January 23, 2013

Tips for Painters

Here is a good tip for keeping art/craft time fun, neat, and cost-effective.

When working with acrylic paints, you will find that, unlike watercolors, they are not water-soluble once dry. But what do you do with all the blobs of paint that are left over when craft time is done?

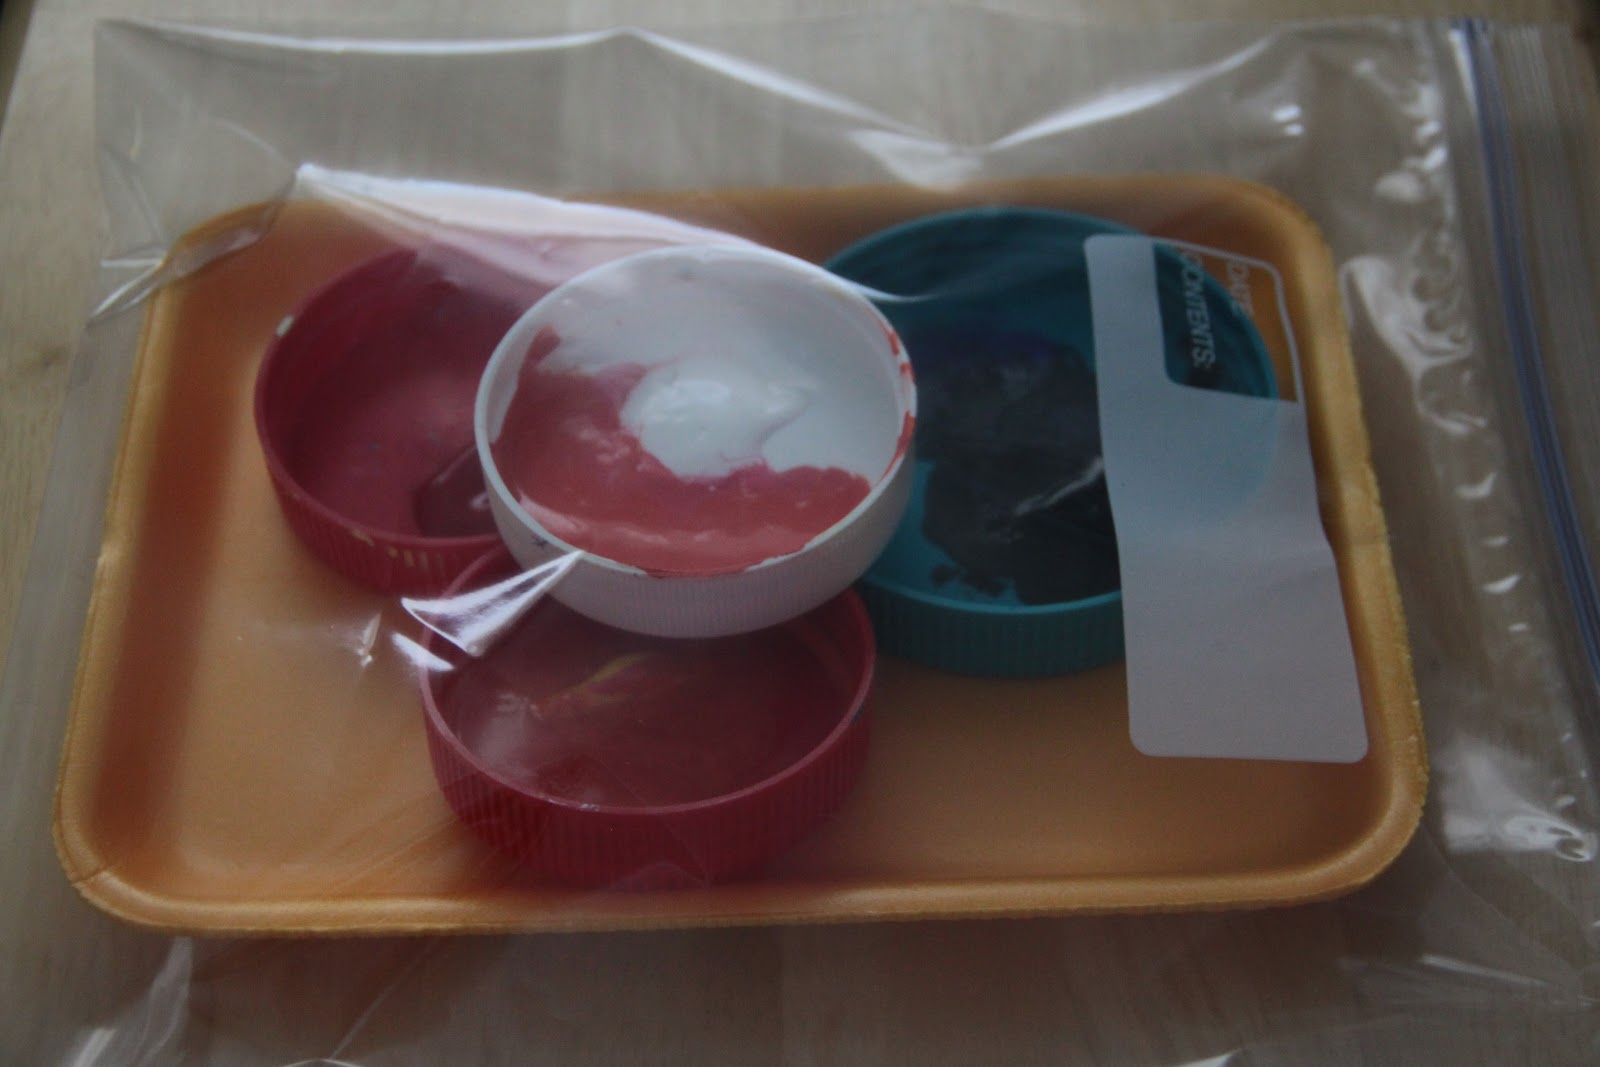
Drip a drop or two of clean water onto the blob of paint, set the paint cups (we use old peanut butter or mayo lids) onto a tray and put the whole thing into a zipper bag. Seal the bag up and you can leave it for a day or two without it drying out.

Here are a few other tips to remember when using acrylic paints:

  • Acrylic paint is good to use on heavy paper, paper board, canvas and wood crafts. It will not stick to glossy surfaces such as glass or plastic. 
  • Acrylic paint will not wash out once dry! Wear a paint shirt or old clothing. If paint gets on your good clothes, rinse them in cold water right away to help remove the paint and prevent a stain. Same goes for carpet. Avoid painting in a carpeted room if possible, or use a drop cloth to keep the carpets clean. 
  • Remember to wash brushes right away.
  • Acrylic paints mix well and can be thinned with water. 
Have fun painting!

Wednesday, January 16, 2013

Creative babies

Babies are naturally creative, too!

Creativity, in its infancy, comes in the form of learning how things sound, look, smell, taste, feel, and what they do.

"What will happen if I smoosh this... or hit that - with this? Stretch this?"

Stimulate your little one's imagination at a tender age!

Some "toys" that encourage exploration and yield satisfying results for the infant artist:

~ wooden spoons and metal bowls and pans, for music-making
~ small boxes, for stacking (and toppling)
~ mealtimes, for "finger-painting" and a variety of textures and tastes
~ hiding-and-finding games with mama or siblings, for problem-solving
~ a mirror, for self-study
~ someone to read brightly illustrated stories, for literary development
~ the family's piano, lullabies, and recorded music, for singing, dancing, and composing
~ people who laugh and cheer at baby-antics, for performance

No need for expensive computerized learning toys and posh private pre-schools. Everything your prodigy needs is right there at home already.

Wednesday, January 9, 2013

Project Idea -- mixed media pictures

Get your kids inspired with a few cut-up sponges, some poster paint, paper and glue...and look at the kind of art they can do:

Sponge painting is so easy. All you have to do is dip and dab! Start with a slightly damp (not drippy) square of sponge, dip into the paint and dab onto the paper. Add details to the painting with pieces of construction paper, like the sun's rays in this project.

What will your kids create with paint and sponges?

Wednesday, December 26, 2012

Progressive Storytelling

As we've mentioned before, children are natural storytellers. Whether they are retelling an event from their daily life or making up a new adventure, children's imaginations can make for a fascinating story time.

One way to engage your children in active storytelling is to do progressive stories. This could be a good camping or power-outage activity, or just a way for everyone to enjoy a little time together away from technology.

The idea of a progressive story is that it is a collaborative storytelling effort. One child (or a parent) begins the story by describing a character and setting, such as:
Once upon a time, there was a little girl who lived in a castle. She loved to wear pink every day.
The next person takes the next step, possibly sending the little girl into the woods on an errand, or introducing another character (like a villain). The point is for each person to propel the story forward, and to eventually come to a happily ever after (or not) ending.

One of the best things about telling progressive stories with your kids is how it brings to light each of their individual personalities. Your story will be so full of twists and turns that your little pink-loving castle dweller could end up on Mars defeating an alien horde with a handsome prince from a distant galaxy!

Be patient and have fun with this. As the story progresses your kids might, in their excitement, try ditching the original main character and start a whole new story. Keep them on track and remind them of the importance of seeing the story through to the end--just like in their favorite books and movies.

Thursday, December 6, 2012

Wooden peg dolls

I am having a whole lot of fun making stocking stuffers for my kids this year!

One of my favorite ideas for my daughters' stockings: wooden peg dolls. The materials are inexpensive, and they can be as simple or as detailed as you please! 

Oh, the possibilities!


These little pegs can be found at your local craft/hobby store. I found mine at Hobby Lobby in the woodcraft aisle. They are sanded smooth and all ready to go. I bought some acrylic paint for $0.57 a bottle and got started right away. They took a few days to complete, as I paused to let the paint dry between colors, and my Santa's workshop time is limited to post-bedtime hours ;) 

All painted and ready for a clear coat.
After I was satisfied with the paint job, a few coats of polyurethane were added for durability. Poly is available in handy-dandy spray cans. We had some left over from a previous project. Once that was dry, I added a little fabric and sparkle for accents :)

You can do just about anything with these little guys to suit your kids' tastes! For two of my daughters, I am making little families (one of which is pictured here) for their dollhouse. I have a third daughter who is on the adventurous side, and her set will be female superheroes (ie., Mrs. Incredible and Wonder Woman).

After Christmas, I'm going to let them paint a few extra dolls of their own.

Little boys can have fun with these, too! Besides superheroes, think pirates, army men, or ninjas.

After polyurethane, with some added accents:
hair bows, lace, and "jewels"


Just for fun, I picked up a little, unfinished wooden box to paint and monogram. The monogram was very simple. I pulled up Microsoft Word, sized the letter and chose a pretty font, and printed it out. Then I traced the initial on the box with tracing paper and painted it in! 

Are you going to give these a try? Tell us your ideas in the comments below!

Wednesday, November 28, 2012

It's "Ornamental"!

I love handmade ornaments. Some of my favorites are the ones that my kids have made at school. But even better are the ornaments we have made together! This year we took plain glass ornaments and covered them with beads (pictured on the left).

Plain, clear glass ornaments are perfect for customizing because there are so many possibilities! And, barring any gravity-related tragedies, they will be treasured for years to come.

To create the ones pictured here:

Bead Covered Ornament

Use a small paintbrush to cover the entire ornament with a generous layer of Tacky Glue. Then roll the ornament in a bowl full of tiny glass beads. Hang it to dry overnight.

Stuffed Ornament (the one in the middle)

In the one pictured, we simply put a few strips of sheer shiny fabric into the ornament. You could also fill your ornament with tiny paper snowflakes, sparkly yarn, Christmas confetti, or any other light-weight material that you think would look snazzy.

Paint Swirl Ornament

Choose two shades of acrylic craft paint. In ours we used metallic gold and plain white. Squirt a generous amount of each color on opposite sides of the inside of the ornament. Shake gently to spread the paint, then leave it to dry overnight before replacing the ornament cap.

Other Ideas

  • Paint the outside of the ornament with a fun Christmas design and/or your child's name and the year.
  • Use glue to draw a simple design, then sprinkle with glitter.
  • Tie a ribbon to the top of the ornament in place of a hook.

Will you try these? What types of ornaments have you made with your kids?